
Brown butter, also known as beurre noisette, is a French culinary technique that enhances the flavor of many dishes, transforming ordinary recipes into extraordinary ones. By gently cooking butter until it develops a rich, nutty aroma and a golden hue, you can add depth and complexity to both sweet and savory recipes.
The Art of Browning Butter: A Flavorful Addition to Your Recipes
Browning butter is a simple technique that can elevate your cooking and baking. This method involves slowly cooking butter over medium-low heat until it turns golden brown. In this blog post, I’ll describe what browned butter tastes like, explain why you might want to incorporate it into your recipes, and provide instructions for browning it perfectly.
What Does Browned Butter Taste Like?
Browned butter has a deep, complex flavor. When butter is heated, the milk solids caramelize, which adds a toasted, nutty flavor. In recipes, the flavor of browned butter is richer than that of regular butter. You can develop a more intense butter flavor in a recipe without adding more butter. This makes browned butter an excellent choice for various dishes, adding a depth of flavor that plain butter cannot achieve.
Brown Butter is a Versatile Ingredient
Browned butter’s nutty notes and caramel richness can complement sweet and savory recipes. In baked goods, it can enhance cookies, muffins, and cakes, giving them a sophisticated twist. For savory dishes, it can add depth to sauces, vegetables, and grains.
How to Brown Butter
Browning butter is relatively easy but requires attentive monitoring to prevent burning. Follow these simple steps:
Step 1: Choose Your Butter
Start with salted or unsalted butter, as listed in your recipe. If the recipe instructs you to add 1/2 cup of butter, brown more than 1/2 cup, as the water in the butter will evaporate during cooking, leaving less than 1/2 cup by the end. For instance, butter consists of three components: fat, water, and milk solids. The water content can be approximately 15-20 percent. Therefore, you should brown at least 20 percent more butter than the recipe calls for.
Finally, if the recipe calls for softened or cold brown butter, chill the browned butter, then measure it.
Step 2: Place in a Pan
First, cut the butter into even pieces to ensure uniform melting. This way, all the milk solids will start to brown simultaneously.
Browning butter is a visual task, so use a light-colored saucepan or a stainless-steel sauté pan to monitor the color as it changes. Dark-bottomed pans can mask the color change, so the butter can burn without you knowing.
Place the butter into a thick-bottomed saucepan and turn the heat to medium-low.
Step 3: Stir and Watch Carefully
There are varying degrees of browning butter, from lightly browned to dark brown. The finished product depends on recipe requirements and personal taste. I generally prefer a medium golden brown butter for some recipes, while for others, I prefer dark brown. But whatever degree of brownness you like, start by cooking it low and slow. Slow cooking ensures that the butter doesn’t quickly go from perfectly browned to overcooked and burnt.
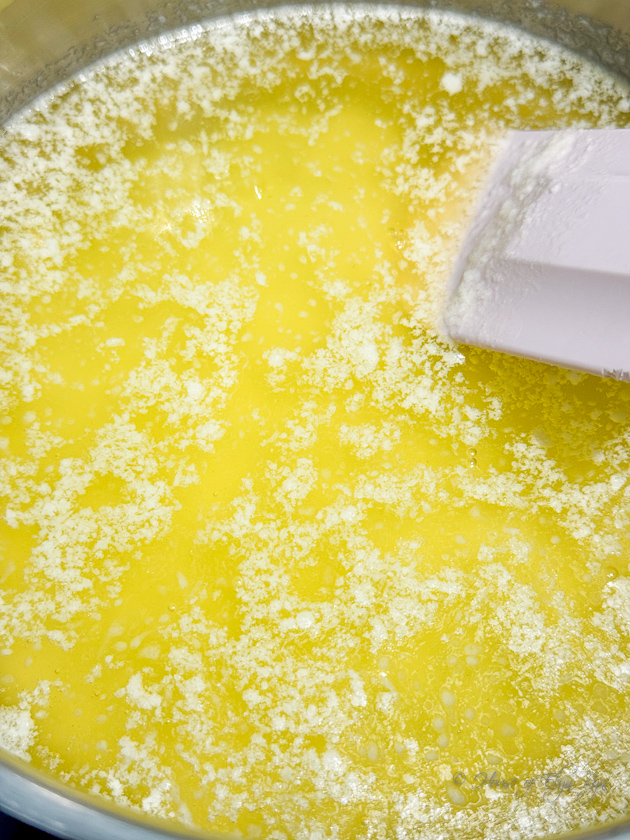
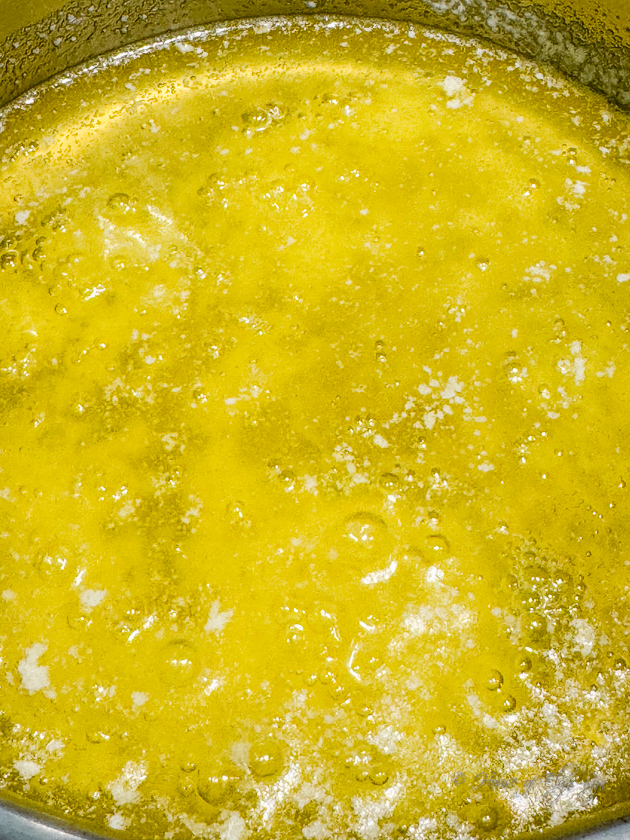
As the butter melts, stir it occasionally. You’ll notice white foam forming on top at first, thickening as it heats. It may even splatter.
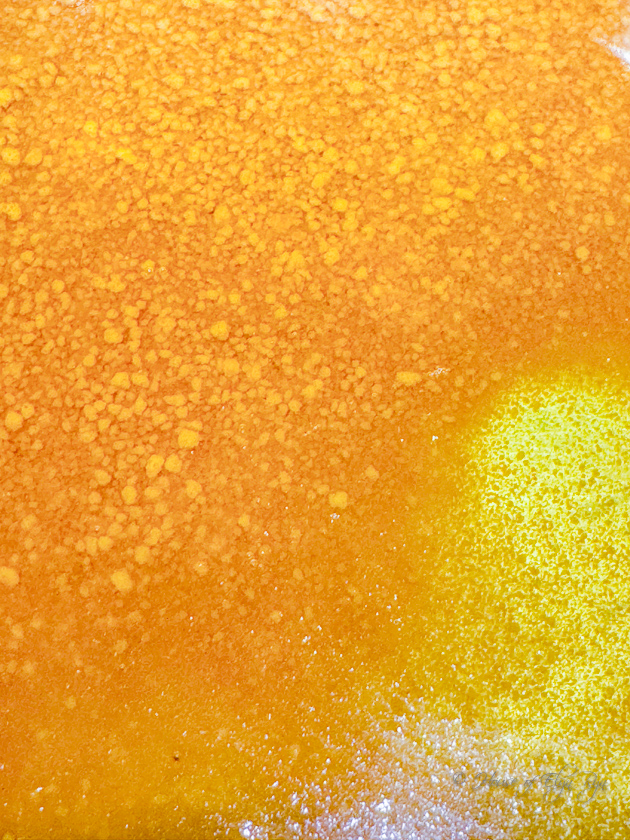
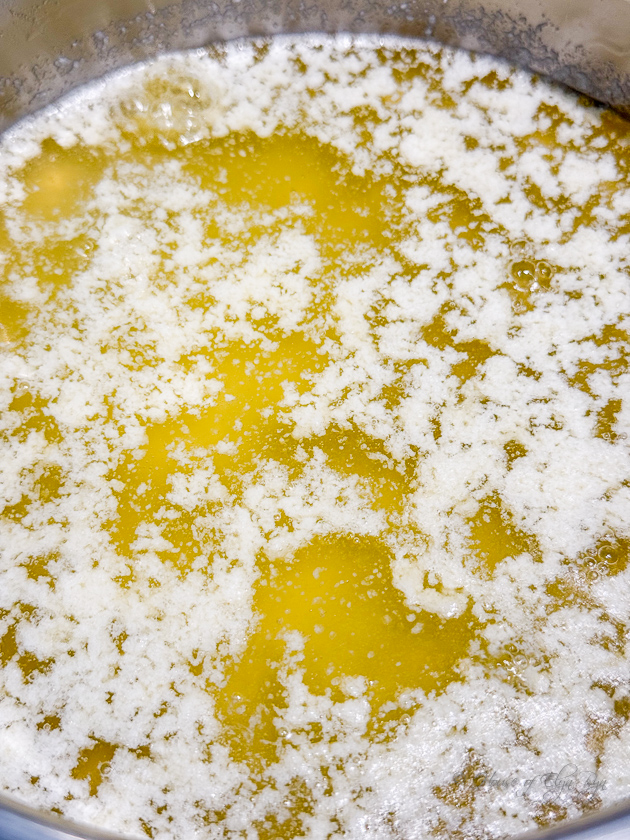
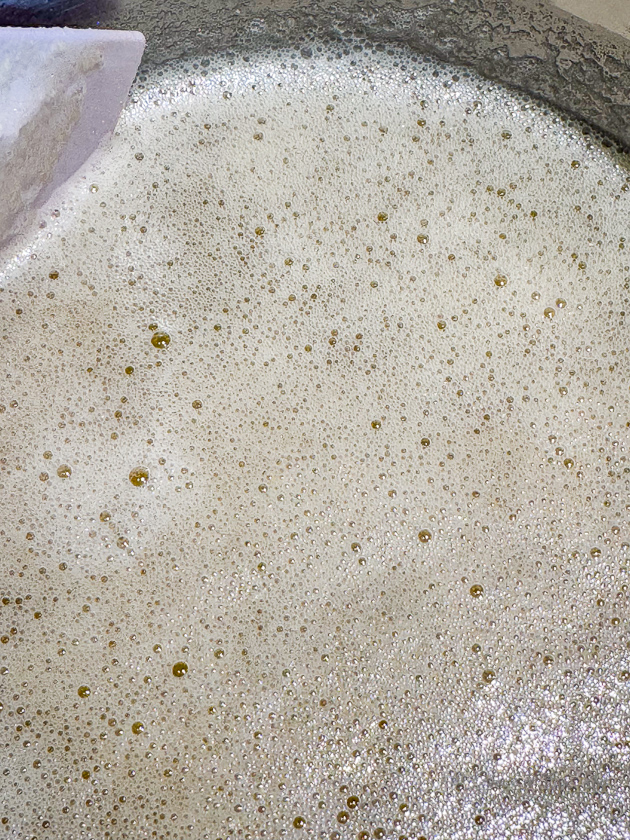
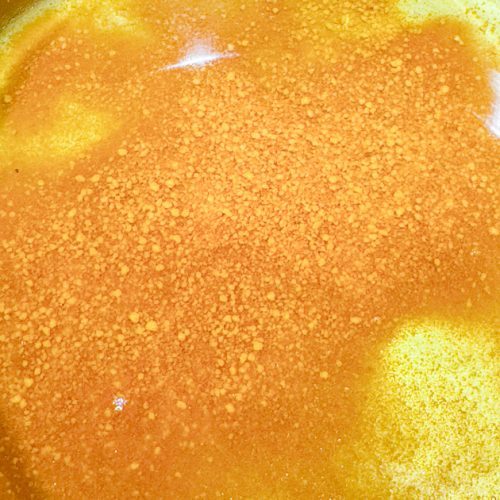
Then, it will start to boil. Bubbles will form until it is foamy. Keep pushing the bubbles aside to monitor the color of the milk solids at the bottom of the pan. Continue stirring and moving the bubbles aside until the milk solids turn golden brown. Depending on the stove type, the butter’s temperature, and the pan width, this can take a few minutes. A wide pan with a large bottom surface area will brown the butter faster than a small pan.
Remember, medium-low can mean different things on different stoves. A small amount of butter will cook more quickly than a significant amount. You might brown a small amount in 4-5 minutes, whereas a larger amount could take 15-20 minutes if you heat it at a lower temperature. Avoid raising the heat too high until you get used to browning butter, as it can burn quickly.
Step 4: Remove Brown Butter From the Heat
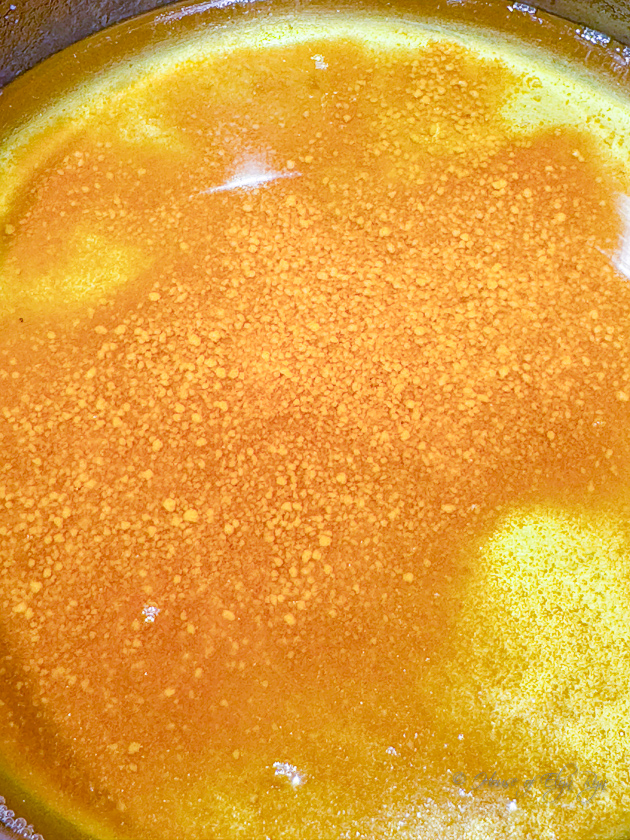
Once the butter has reached the desired golden brown color, remove it from the heat to prevent burning. It will continue to cook briefly after removing it from the heat. Transfer it to a heatproof bowl to cool slightly before using it in your recipe or storing it for use later.
Stages of Browning Butter

Moisture Loss When Browning Butter
There are three components to butter: butterfat, solids, and water. Water evaporates when you brown butter, which in turn causes the butter to lose mass and volume. To compensate for this moisture loss, brown more butter than the recipe calls for, then measure it before using it in a recipe.
If you do not brown enough butter for a recipe, you can always add unbrowned butter to make up the difference. Unless you need to add back a significant amount of butter, the small amount of unbrowned butter you add will not affect the taste.
Incorporating Brown Butter into Your Recipes
Now that you’ve learned the art of browning butter, you can put it to use! Here are a few ideas to get you started:
- Cookies: Use browned butter in cookie recipes for a rich flavor twist.
- Pasta: Drizzle over pasta with sage or rosemary for a gourmet touch.
- Vegetables: Toss roasted vegetables in browned butter for a nutty finish.
- Baking: Substitute browned butter for added depth in cake or muffin recipes.
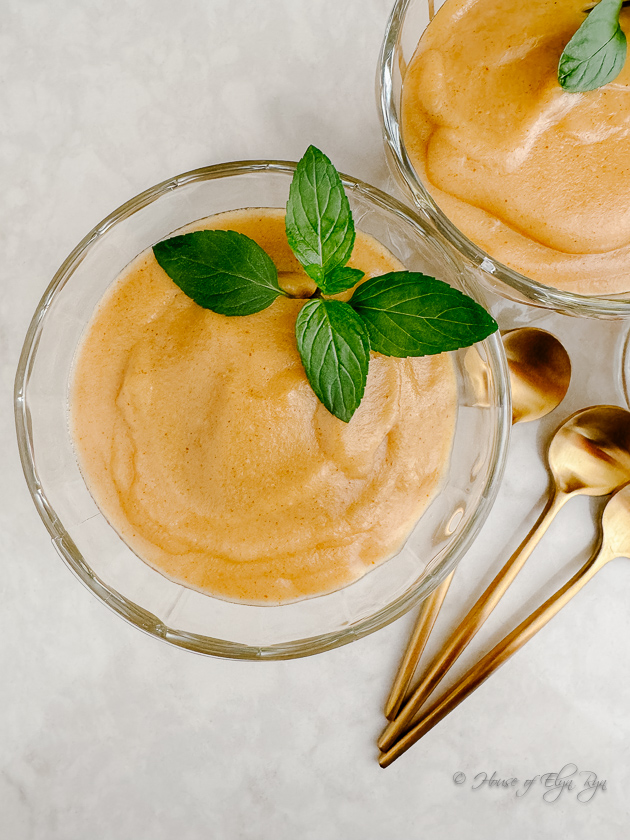
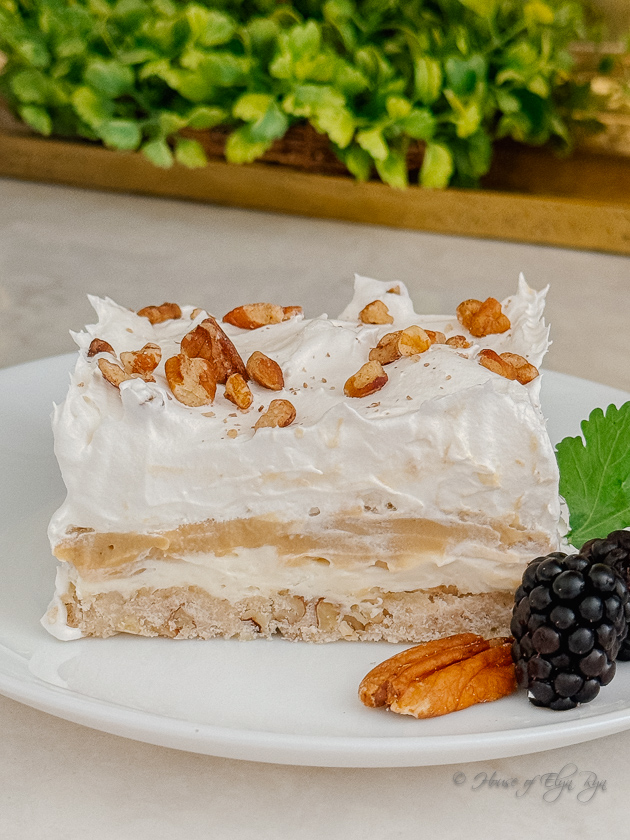
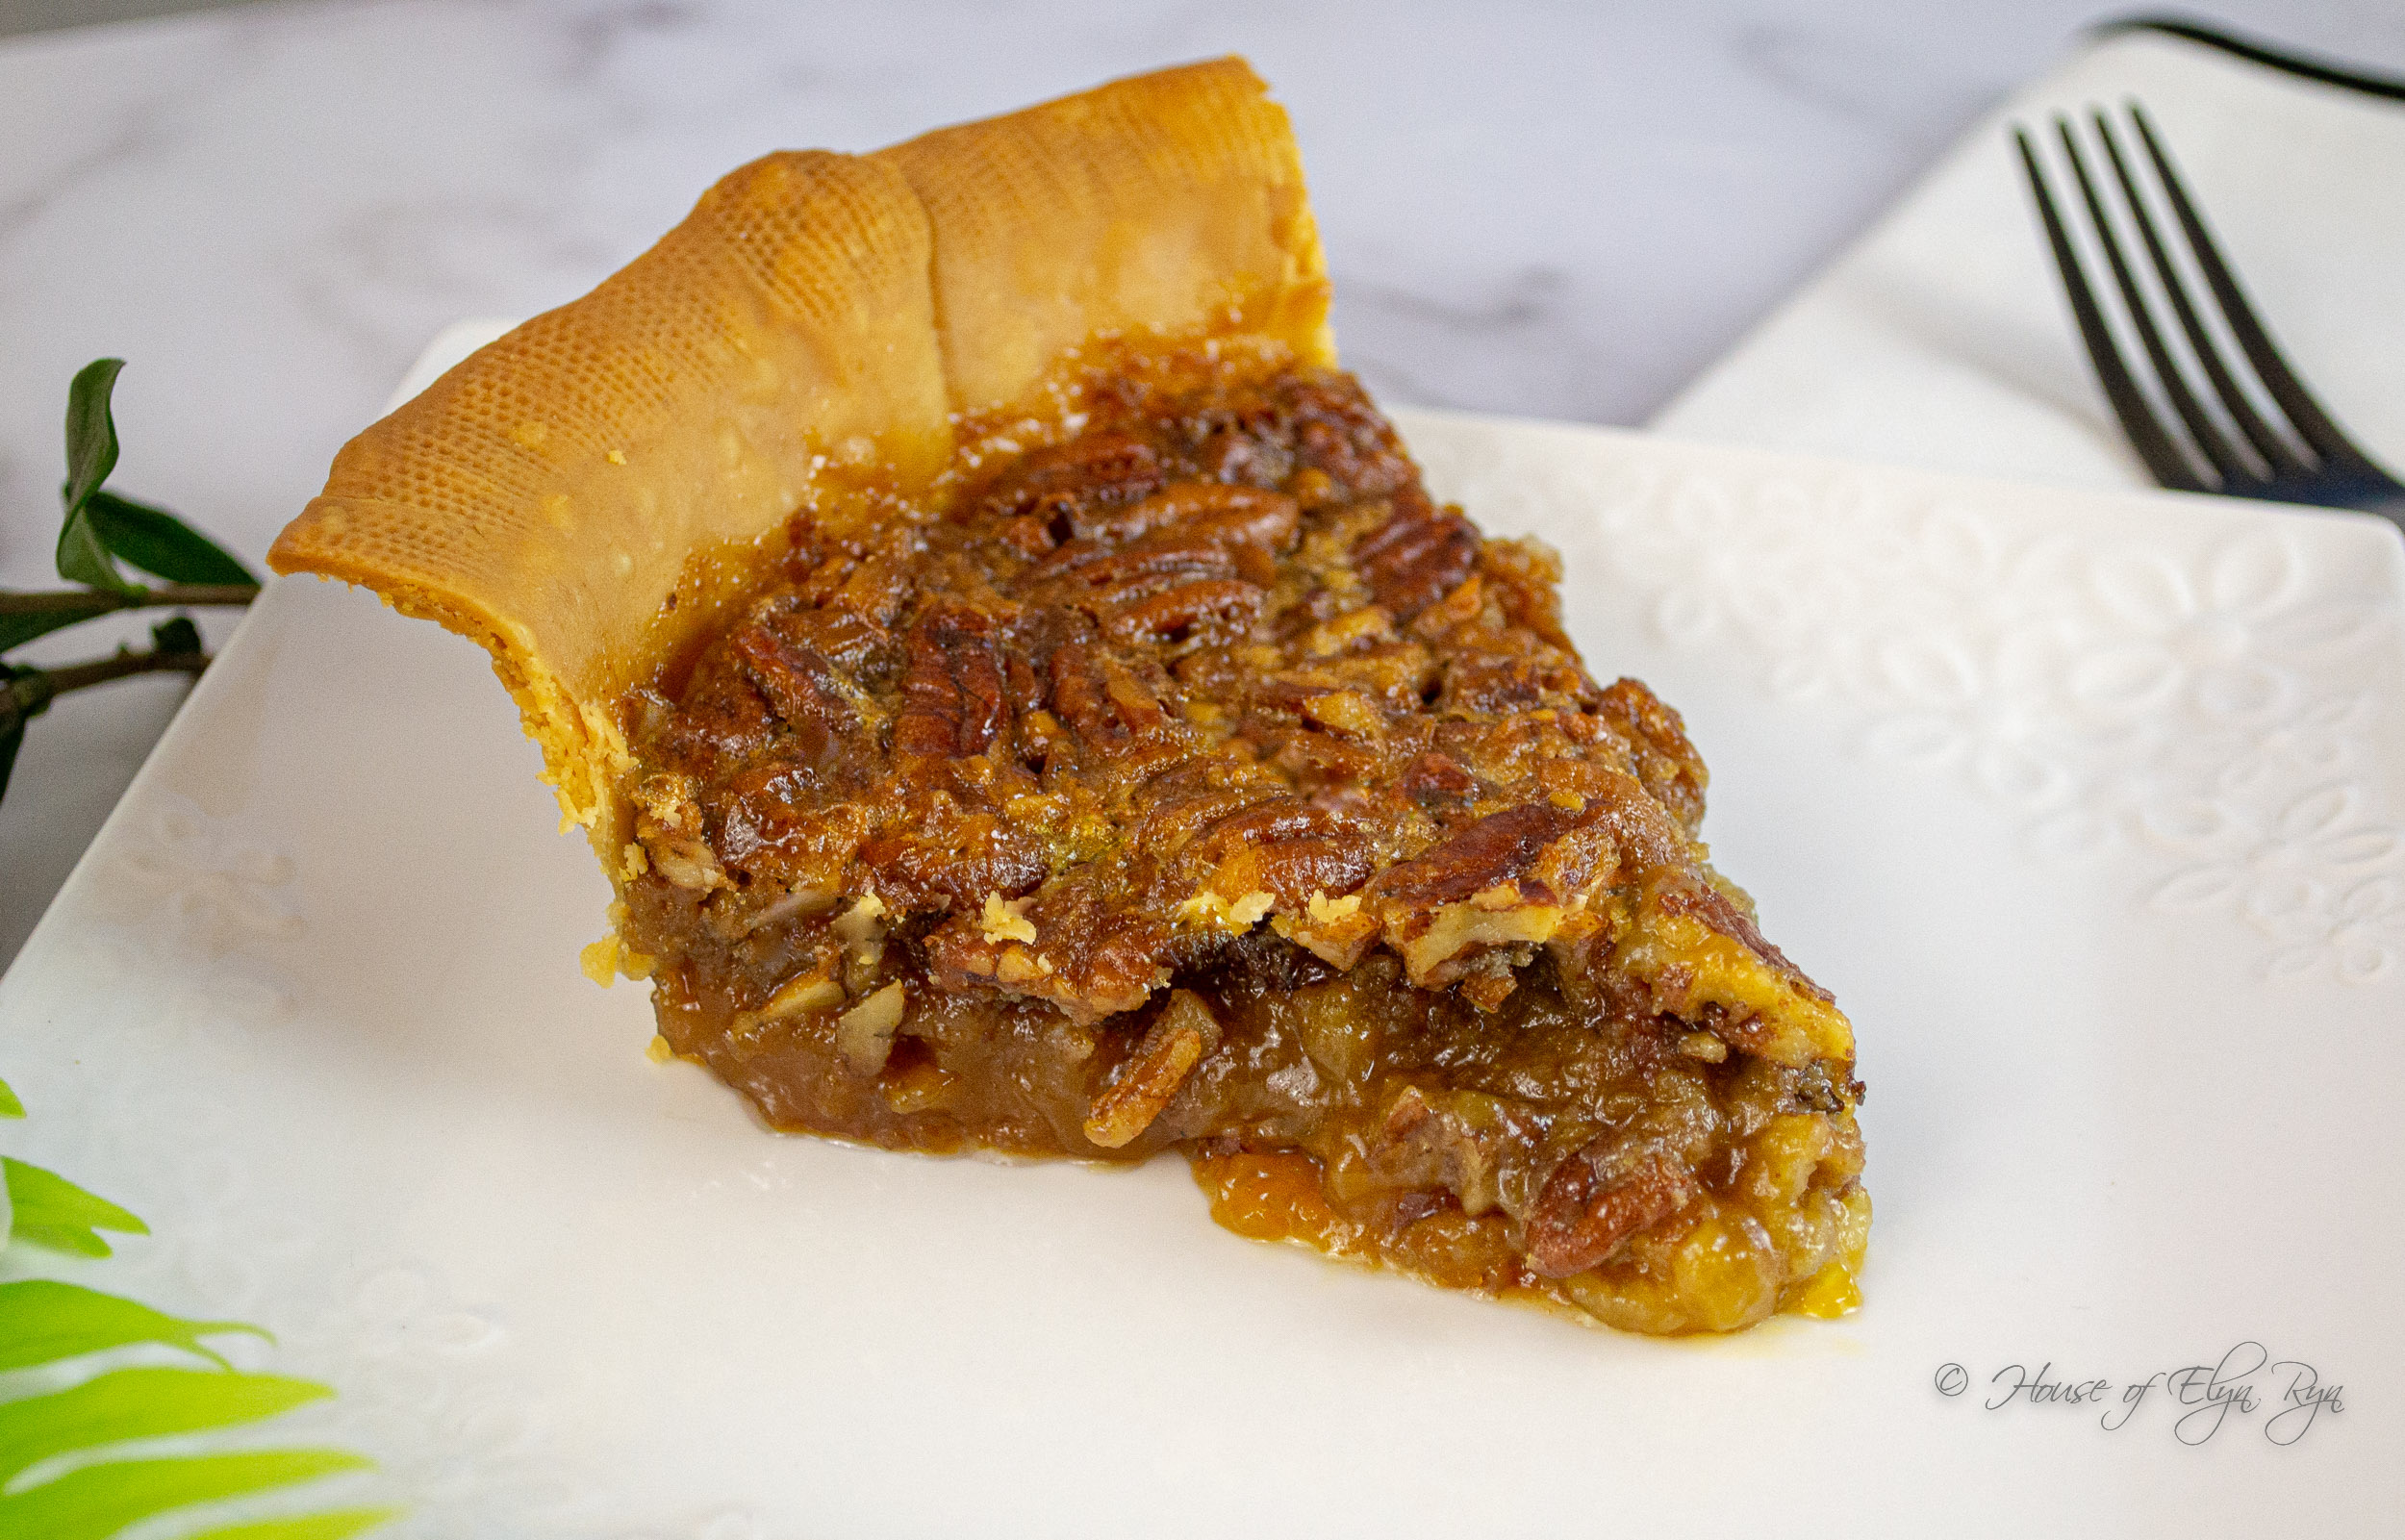
Other Buttery-Tasting Recipes You Might Enjoy
Click on each name or photo to link to the recipe.
How to Perfectly Brown Butter for Your Recipes
Equipment
- 1 wide, thick saucepan
- 1 heat-safe silicone spatula or wooden spoon
Ingredients
- ½ cup butter, unsalted
Instructions
- Cut the butter into eight equal pieces and place them into the saucepan.
- Turn the heat to medium-low and let the butter melt.
- Heat until the butter starts to form a white foam, stirring occasionally.
- Continue cooking and stirring. The white foam will increase, and the butter may splatter.
- Cook until the butter boils. The foam will disappear, and bubbles will appear.
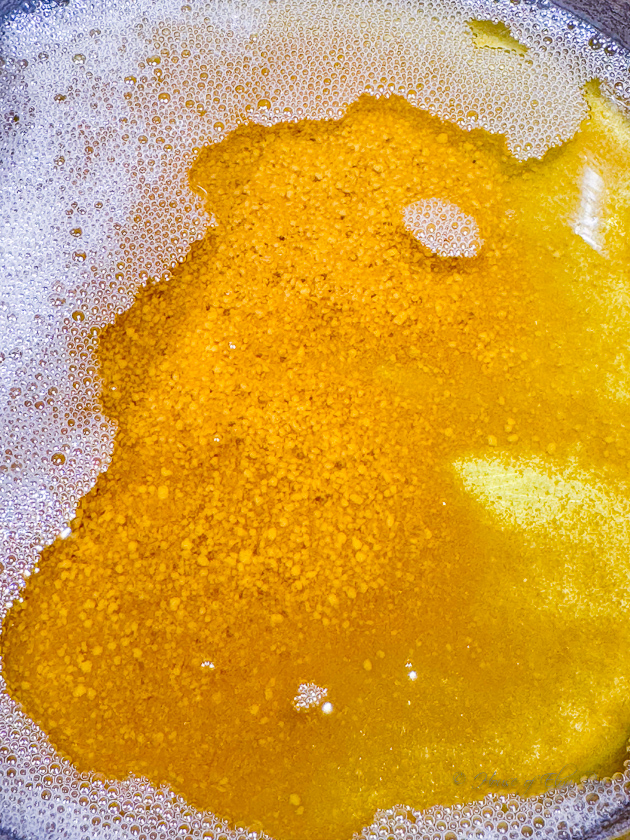
- As the butter continues to cook, the top will fill with bubbles. Use a spatula or wooden spoon to gently move the bubbles, allowing you to see the browned bits on the bottom of the pan. If the browned bits are still pale brown, cook for a little longer.
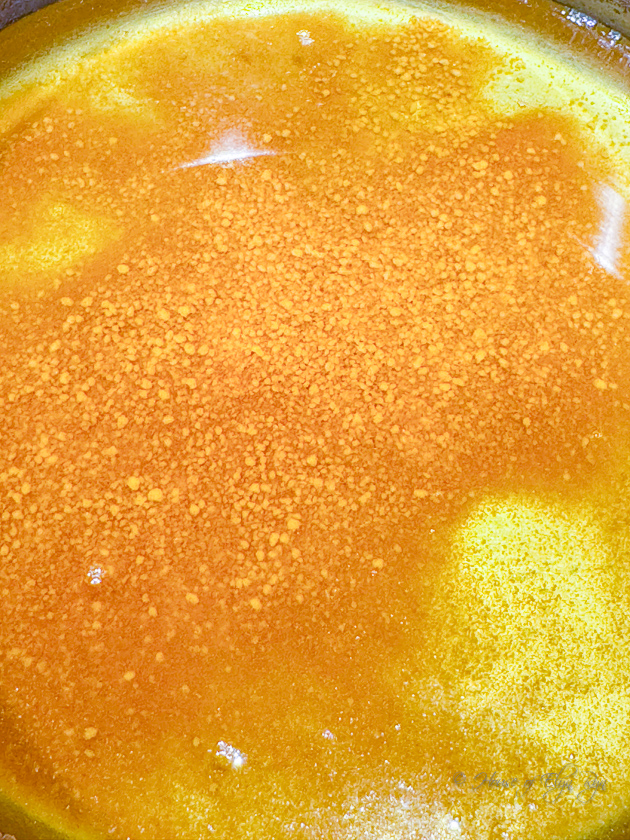
- When the browned bits on the bottom of the pan are golden brown, and you are satisfied with the color, remove the pan from the heat and let it cool. If you prefer the butter to be browned to an even deeper color, continue cooking until you are satisfied. Be aware that butter can quickly change from a perfect brown to a dark, burned brown in the last few minutes of browning.
- Use the butter according to your recipe instructions, chilling it to a solid state if necessary.