
Grated apple pie combines the nostalgic flavors of traditional apple pie with a surprising texture twist that will delight your taste buds. This unique approach not only enhances the flavor but also makes for a wonderfully moist filling that will leave you wanting more.
Discovering the Unique Grated Apple Pie
Apple pie is a beloved classic, but let me share a twist on this traditional dessert: grated apple pie! This recipe, which I received from a friend, has surprised guests when I’ve served it, and left everyone asking for seconds. Let’s see why this method works so well and how it adds an interesting dimension to a timeless favorite.

The Grating Technique: A Fun Twist
At first, grating apples seemed like an unusual approach to making apple pie, but it has proven to be quite effective. Grating breaks down the fruit and allows for a unique texture that you don’t typically find in standard apple pies. Although the recipe calls for grated apples, you can also shred them for a similar effect.

While I use an electric food processor grater for ease and speed, you can also use a traditional box grater if you prefer a more hands-on method. Just remember to stick with the coarse side to achieve the desired texture!

Achieving the Perfect Mix for Grated Apple Pie
Another aspect of this recipe is how it resembles cake-making in its preparation. You cream the butter, incorporate the sugar and eggs, and then stir in the grated apples. This thick batter results in a pie that’s both rich and packed with flavor.

Grated Apple Pie: Flavor Combinations That Shine
When preparing this pie, the combination of spices like cinnamon and nutmeg elevates the overall flavor profile. However, if you extract a lot of water when grating the apples, be sure to pour it off. Be careful, though, and pour it off before adding the lemon juice or mixing the apples with the batter! Pouring off excess apple juice after adding it to the batter could mean losing some of that spice flavor. The aim is to keep the pie moist while still delivering that wonderful taste we all expect from a classic apple pie.

Don’t Forget the Crust
As with any good pie, the crust plays a vital role in the final result. Since the edges can brown too quickly in the oven, remember to cover them with aluminum foil or a pie ring. This simple precaution will help you bake up a beautiful, golden crust without any burnt edges!

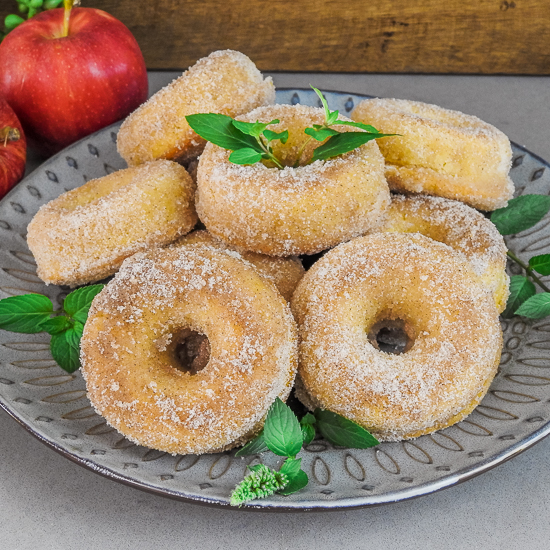
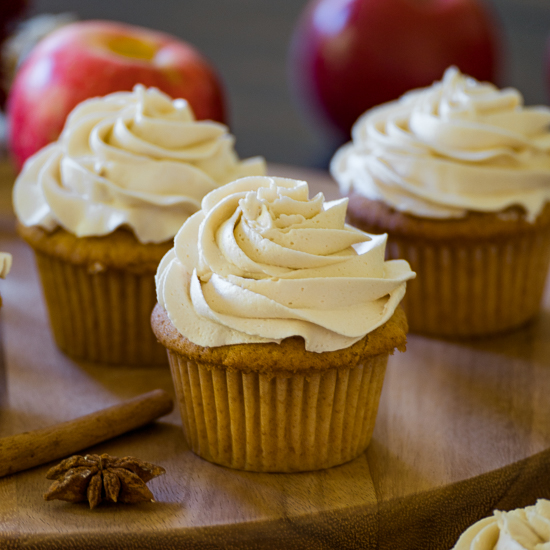
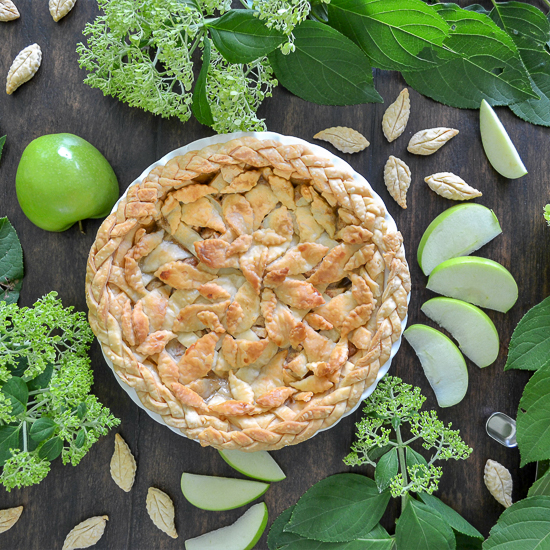
Other Apple Recipes You Might Like
Click on each name or photo to link to the recipe.

Grated Apple Pie
Equipment
- a mixer
- 9-inch pie dish
- pie crust ring or aluminum foil ring
Ingredients
- 1 pie crust
- 4 cups apples, peeled and grated (about 5 medium apples)
- 2 teaspoons lemon juice
- 1 ¼ cup sugar
- 3 tablespoons all-purpose flour
- 1 teaspoon ground cinnamon
- ¼ teaspoon nutmeg
- pinch of salt
- ½ cup salted butter, softened
- 2 teaspoons vanilla extract
- 2 large eggs, beaten
Instructions
- Preheat oven to 450°F.
- Place the crust into a 9-inch pie dish. Cut off any overhanging crust and crimp the edges.
- In a bowl, mix together the sugar, flour, cinnamon, nutmeg, and salt. Sprinkle 3 tablespoons evenly in the bottom of the crust and set the rest aside.
- Grate the apples, add the lemon juice, and stir.
- In a mixing bowl, beat the butter until creamy. Add the remaining sugar mixture and beat until incorporated. Add the vanilla and eggs and beat until combined and the mixture turns lighter. Stir in the apples.
- Pour the apples into the crust and spread them out evenly. Place a pie ring or an aluminum foil ring around the edges of the crust.
- Bake at 450°F for 15 minutes. Then reduce the heat to 350°F and bake for an additional 30-35 minutes. If the crust is not brown enough, remove the pie ring for the last 10 minutes of cooking time.