
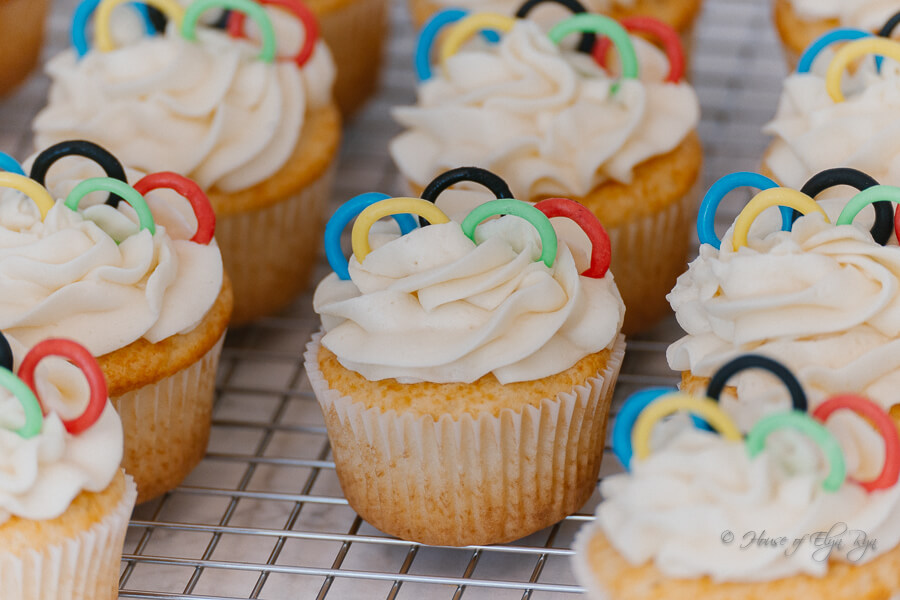
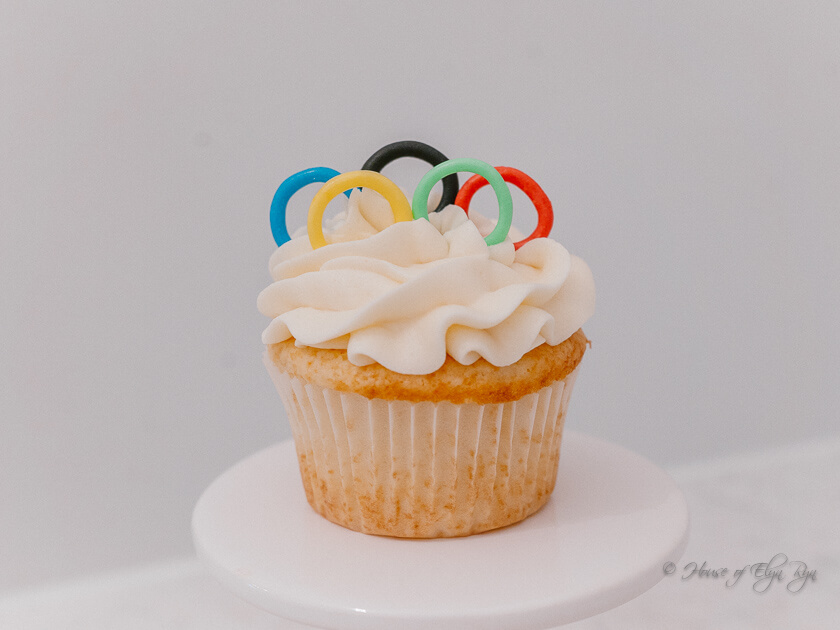
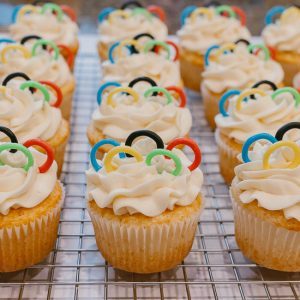
These vanilla Olympic Rings cupcakes, featuring buttercream frosting, come with a printable template for creating Olympic Rings out of white chocolate.
Chocolate Olympic Rings
I planned to create some Olympic-themed treats featuring the iconic rings for a viewing party. However, I quickly realized that achieving perfectly round rings is quite challenging! There aren’t many molds available for crafting small fondant rings, but I’ve found a simple technique for drawing little circles that works perfectly.
Make Chocolate Rings for Olympic Rings Cupcakes
The Olympic rings consist of five colors, in the following order from left to right: blue, yellow, black, green, and red. All of the rings for these cupcakes, except for the black one, are crafted from white chocolate, while the black ring is made from dark chocolate.
When preparing the first color of the Olympic rings, start with 1/2 cup of chocolate as indicated in the recipe. This should provide ample chocolate for practicing your ring-making skills. For the remaining colors, just adjust the amount of chocolate accordingly. It’s also a good idea to create more rings than the number of cupcakes to account for any that might break during the process.
Use Gel Food Coloring for Olympic Rings Cupcakes
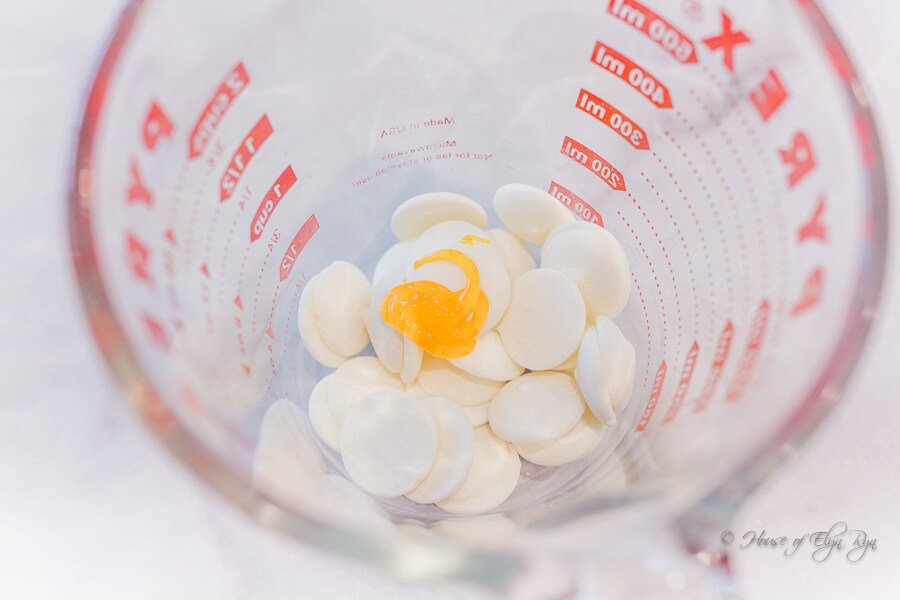
Be sure to use gel food coloring rather than liquid, as liquid can cause the chocolate to seize and become hard. If you find that it does seize, you can try adding a teaspoon or two of vegetable oil and stirring it in; this may help restore the chocolate’s smooth texture. Additionally, it’s best to mix the gel food coloring into the chocolate before melting it in the microwave.
Use a Tip Coupler
A piping coupler (the white tip holder shown in the above photo) makes it easier to hold the piping bag when doing detailed work. However, you can omit the coupler, place the tip straight into the bag, and start piping. The recipe notes have a link that shows how to use a coupler and insert it into a piping bag. There is also a buying source for it.
Piping Bags for Olympic Rings Cupcakes
You can purchase piping bags online. You can also buy them locally at craft shops (in the cake decorating section) and specialty bakery shops. However, there are alternatives to piping bags.
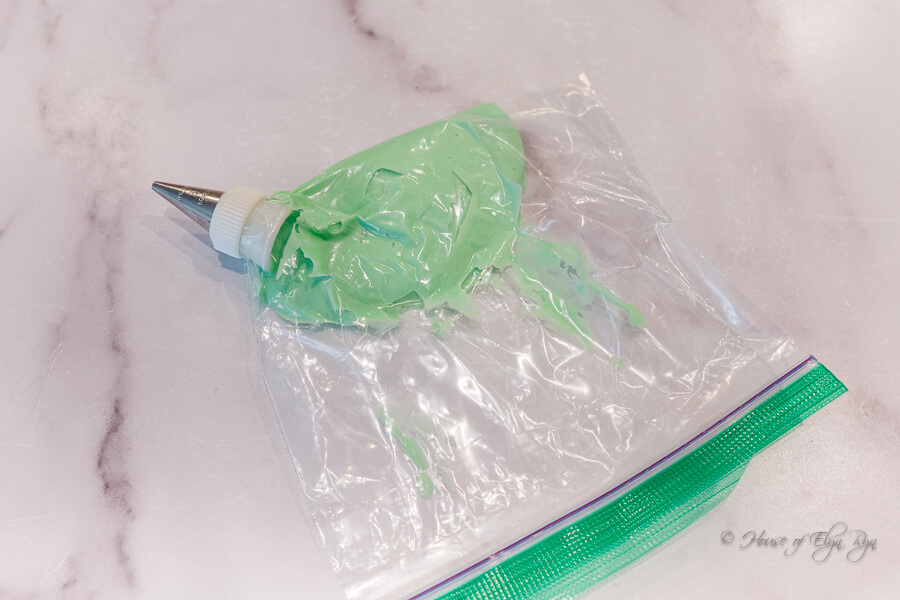
Use Sandwich Bags to Pipe Chocolate
If you don’t have piping bags, you can use reclosable sandwich bags to pipe the chocolate, as shown in the image above. Cut off one corner of the plastic bag to create a hole for inserting the tip. Be careful, as it is easy to cut the hole too large. If you don’t use the coupler, place the piping tip inside the bag and slide it through the hole in the corner of the sandwich bag. Then, spoon in the melted chocolate. Close the bag and start piping.
Use Gallon-Sized Bags to Pipe Frosting
You can also use reclosable bags for piping frosting onto the cupcakes. However, you will need a large bag to pipe frosting, so I recommend using a gallon-sized freezer bag because they are thicker and can take more pressure when you pipe. Use a large star tip to pipe the frosting. If the frosting is difficult to pipe onto the cupcakes, add more cream to make it easier to work with. If it is too runny, add more powdered sugar to stiffen it.
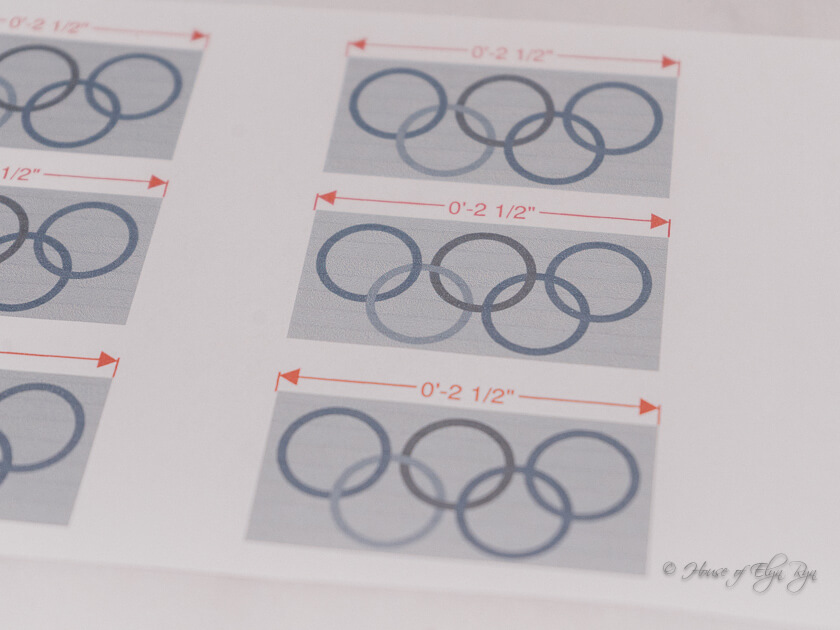
Trace a Template to Make Rings
Use the provided template (shown in the photo above) to create the Olympic Rings. Download and print the template using the button below. It has two ring sizes–2 inches and 2.5 inches. The Olympic rings in these photos used the 2.5-inch size template rings.

How to Use the Template for Olympic Rings Cupcakes
Print the template and place it on a flat cookie sheet. Then, place a sheet of parchment paper or waxed paper over the template. Use the piping bag with melted chocolate and a round piping tip. Draw the circles by squeezing the piping bag and tracing the template circles (as shown in the photo above). Do not try to overlap the rings; instead, draw individual ones. Move the template sheet under the parchment paper and draw more circles. When finished, place the cookie sheet with the parchment sheet and chocolate circles into the refrigerator. Keep the template sheet to pipe another color.
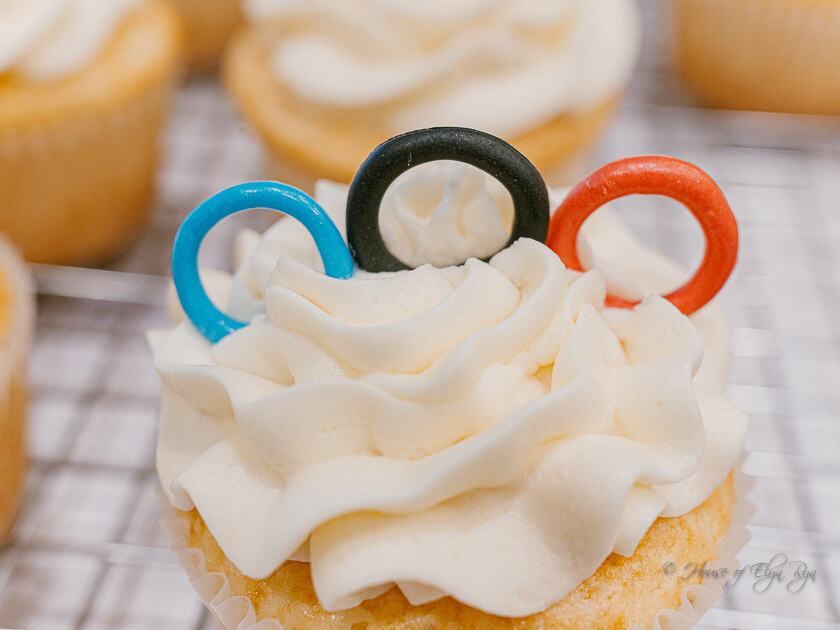
Inserting the Rings into the Cupcakes
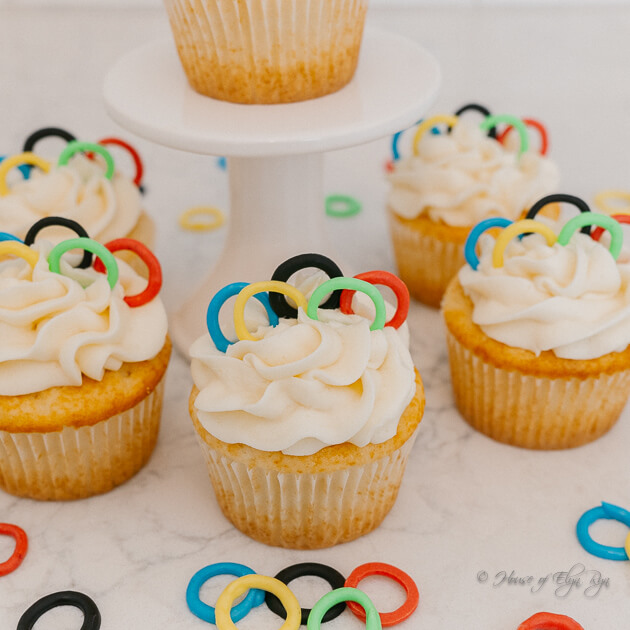
When you pipe a circle, the starting and stopping points overlap, resulting in a thicker ring in one spot. Do not worry about making perfect rings, as it is easy to hide the thickened section by inserting that spot into the cupcake frosting (shown above).
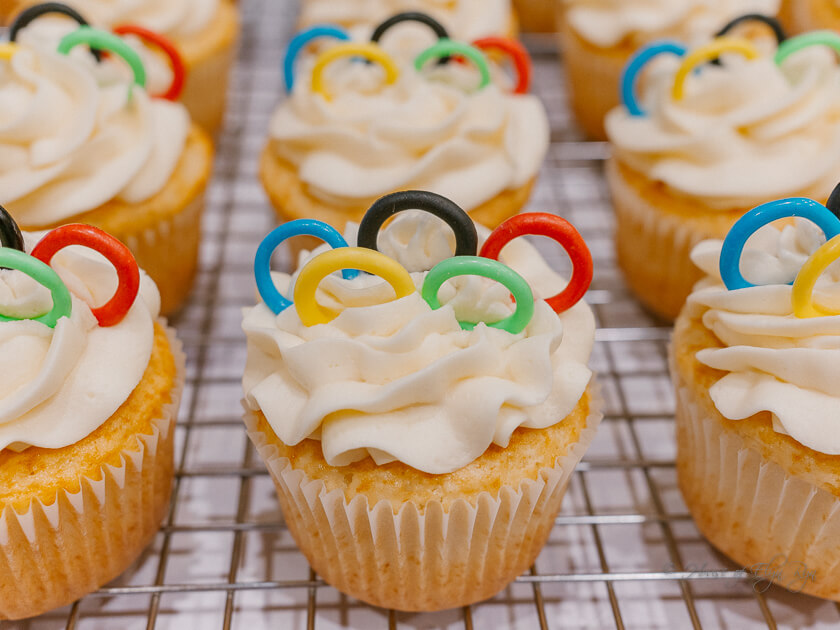
Order of the Olympic Rings
When inserting the chocolate rings into the cupcakes, start with the back row and place a blue, black, and red Olympic ring in this order. Then, insert a yellow ring in front of the blue and black ones. Insert a green one in front of the black and red rings. This will make the rings appear to overlap. You can place the Olympic rings as close as you like. However, set the back row higher than the front row. The frosting is very forgiving if you need to adjust the rings.
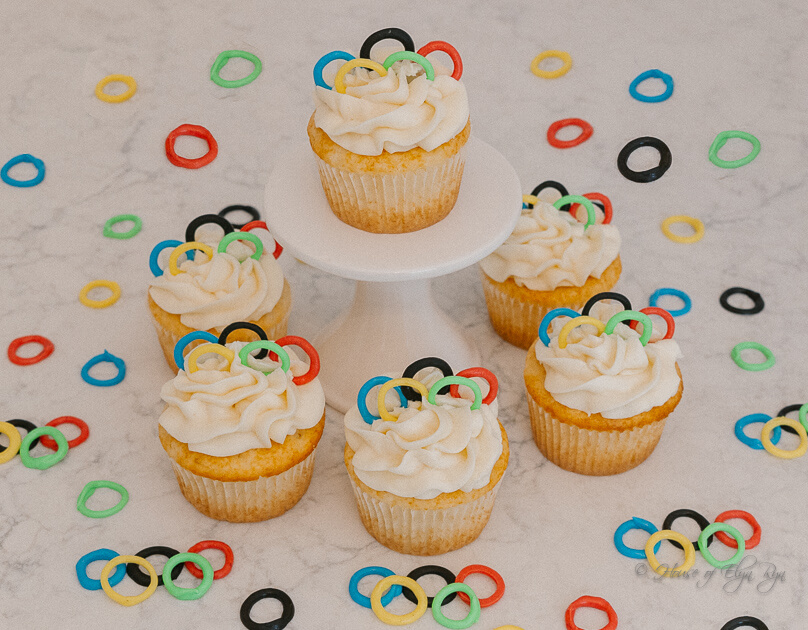
Make Extra Rings
If you host an Olympics viewing party, make plenty of chocolate rings. They can be used to decorate and garnish other foods. Enjoy!
Other Recipes You Might Enjoy
Click on each name or photo to link to the recipe.
Olympic Rings Cupcakes
Equipment
- 24 white cupcake liners
- 1 large piping bag
- 1 large star tip
- parchment or wax paper
- 1 printout template of rings (see note below for template)
- 1 small decorating tip coupler (optional) (see note below)
- 1 number 5 round cake decorating tip
- 5 piping bags or sandwich reclosable bags
- Baking Sheet
Ingredients
Vanilla Cupcakes
- ⅔ cup sour cream, room temperature
- ¾ cup buttermilk, room temperature
- 1 tablespoon vanilla extract
- 4 large egg whites, room temperature
- ⅓ cup vegetable oil
- 1 box Duncan Hines White Cake Mix
Vanilla Buttercream
- 2 sticks butter
- 2 teaspoons clear vanilla extract
- 1 teaspoon clear butter flavoring
- ½ teaspoon salt
- ¼ cup heavy cream
- 4 cups powdered (icing) sugar (see note below on measuring sugar)
Chocolate Rings
- ½ cup semi-sweet chocolate wafers
- 2 cups white chocolate wafers
- 5 gel food coloring colors: black, blue, red, yellow, and green
Instructions
Vanilla Cupcakes
- Preheat oven to 325°F.
- Place the sour cream, buttermilk, vanilla, eggs, and vegetable oil into a large mixing bowl. Whisk until smooth. Then sift in the cake mix and stir until smooth–but not overmixed. Do not skip sifting the cake mix, or the batter will be lumpy.
- Using a cookie scoop, place the cake batter into the cupcake liners. Fill them about 2/3 full.
- Bake for 20-23 minutes or until the cupcakes are lightly browned and a toothpick inserted into the middle of a cupcake comes out clean or with crumbs. Do not overbake. After 5 minutes of cooling time, move the cupcakes to a cooling rack. Cool completely before frosting.
Vanilla Buttercream
- Use an electric mixer to beat the butter, vanilla, butter flavoring, and salt until creamy. Add the cream and stir. Add the powdered sugar a cup at a time and beat between each addition. If the frosting is too stiff, add more cream. If too soft, add more sugar.
- Add the vanilla frosting to a piping bag fitted with a large star tip. Pipe the frosting, starting at the outside of the cupcake. Circle around the cupcake, moving closer to the middle with each revolution. This will make the frosting taller in the center of the cupcake.
Chocolate Rings
- Place a sheet of parchment or wax paper on a baking sheet. Print out the rings template–see the note below for the template. Choose the size of the rings you want to make and cut the paper to only use that ring size. Slide the template underneath the parchment paper. (I used the 2 1/2-inch template for the rings on the cupcakes shown in the photos.)
- Add the semi-sweet chocolate and black gel food coloring to a microwave-safe bowl. It will take a lot of black gel coloring, so add several drops and then add more until the desired shade is achieved. Melt the semi-sweet chocolate for 30 seconds. Stir. Melt for 30 more seconds. Stir until all the chips are melted.
- Gather 1 sandwich bag, the round piping tip, and the tip coupler. Insert the coupler into the bag corner, snip off the corner of the bag, and then attach the piping tip and screw. (See the notes below for a link to see how to put together a coupler and piping bag.) You can also omit the coupler and place the tip into the bag. Cut the bag hole small enough that only half of the piping tip can fit through the bag corner. The coupler is not necessary but might provide more control for drawing circles.
- Spoon the melted chocolate into the piping bag. Carefully “draw” chocolate over the end rings on the template. Slide the parchment paper over the template so you can make several rings. Each cupcake will take 1 black Olympics ring. When drawing a ring, the overlap where you start and stop will be a little thicker than the rest of the ring. When the black circles are all “drawn,” place the cookie sheet into the refrigerator for 3-5 minutes to let them harden.
- Wash the tip and coupler. Then melt 1/2 cup of white chocolate and add blue gel coloring. Repeat the process to make blue rings. Refrigerate them to harden the chocolate. Continue this process until all 5 ring colors are made and chilled.
- Place 3 Olympic rings side-by-side into a frosted cupcake in the following order: blue, black, and red. Stick the thicker part of the ring where the chocolate overlapped into the frosting so it doesn’t show. Place a yellow Olympic ring in front of the blue and black rings. Then place the green ring in front of the black and red rings. (Refer to the photos to see the rings.) This placement will give the appearance of overlapping rings.
Notes
Template
Click here and then download and print the Olympic Rings template. It is your tracing guide for drawing the rings.Work Ahead
- To minimize the time needed for this recipe, work on the chocolate circles while the cake is cooking and then cools. You can also make them a day ahead of time.
- The frosting can be made ahead of time and stored in the refrigerator; however, it will need to be beaten again before using it.
How to Use a Coupler with a Decorating Tip
Click here to see photos and instructions for using a decorating tip with a coupler. You can also buy from this source.Supplies
Click here to buy a Number 5 round decorating tip. Click here to buy large star tips. Click here to buy piping bags and here to buy a stainless-steel cake decorating tool.Olympic Rings
There are 5 Olympic rings, each in the following colors: blue, black, red, yellow, and green. Use enough food coloring gel to create primary colors rather than pastel colors.Amount of Chocolate Needed
The recipe calls for 1/2 cup of chocolate for each ring color. This is plenty of chocolate to practice with and make extra circles. However, once you make the first color set, you can adjust the chocolate amount for the other colors.Measuring Powdered (Icing) Sugar
Use these tips to prevent adding too much sugar to the frosting:- Use a spoon to fluff the sugar before measuring it for the buttercream.
- Do not pack the sugar in the measuring cup.
- Use a knife to level the top of the sugar in the measuring cup.